Our Painting Process
We believe great results start with great preparation. Our process is designed to protect your home, deliver a high-quality finish, and keep the experience clean and stress-free from start to finish.
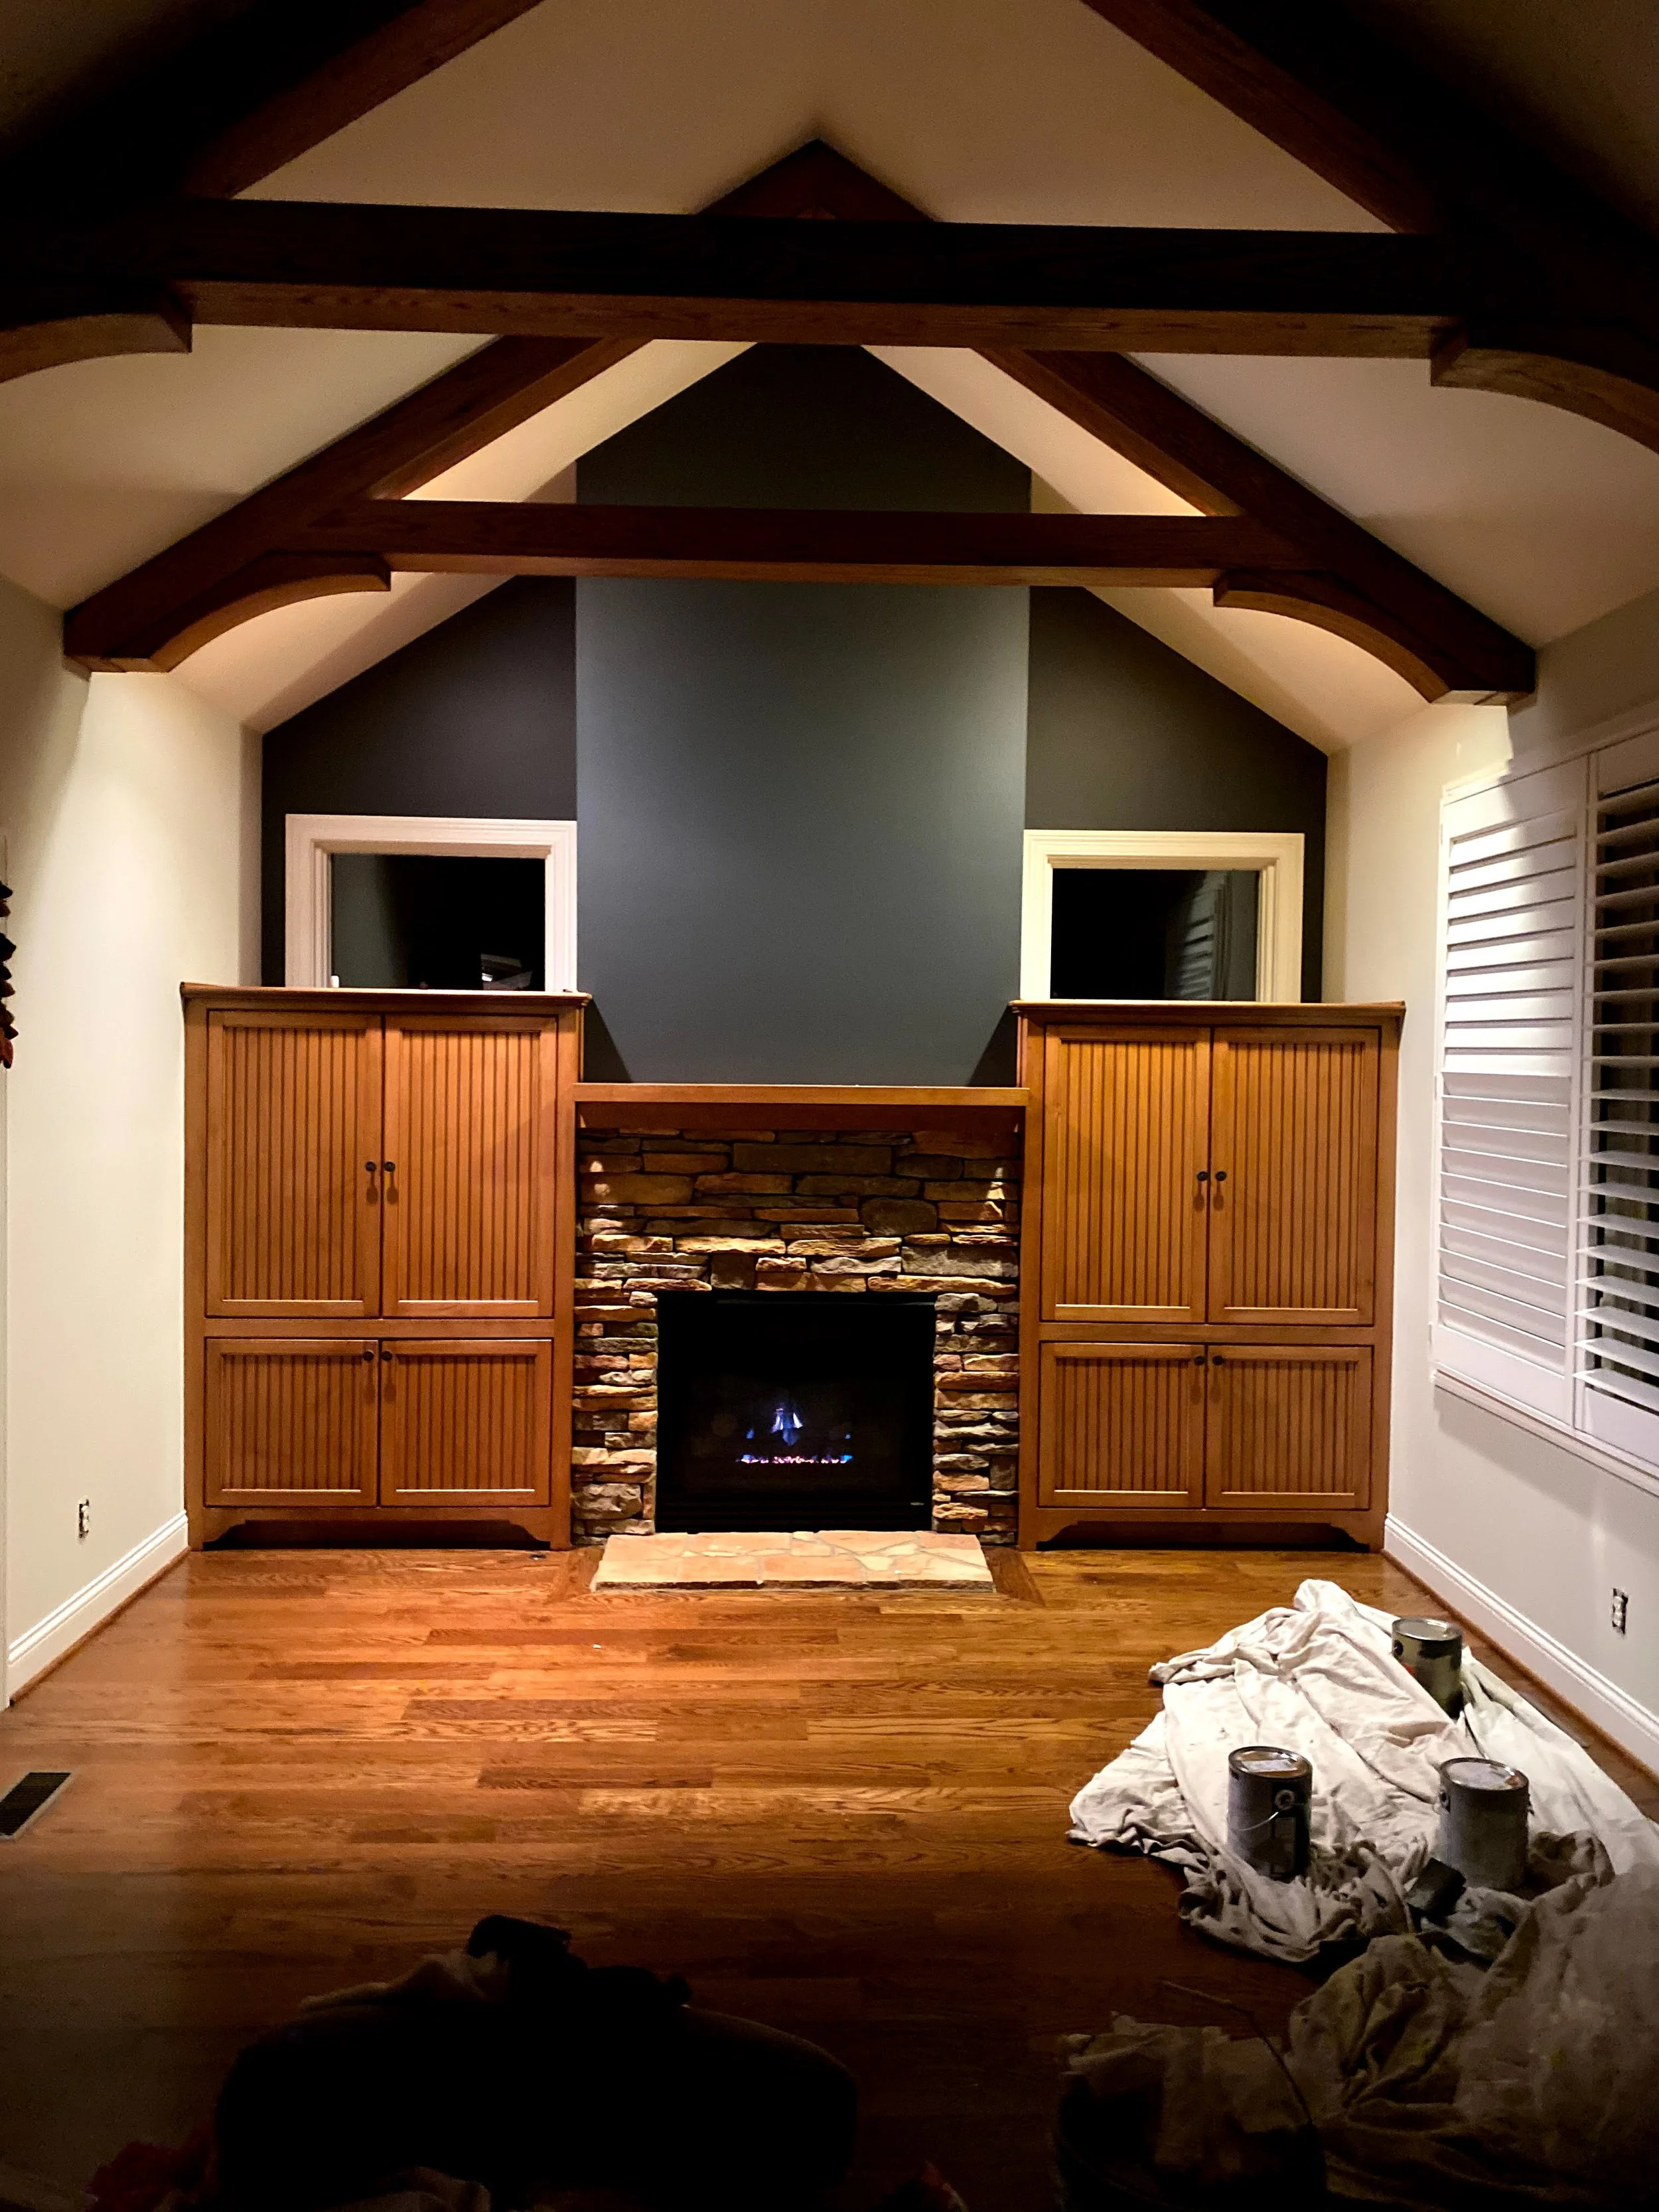
Day 1 - Preparation & Protection
Preparation begins with protecting your home. We carefully cover floors along the perimeter of each wall using protective paper, securely taped to baseboards to prevent dust or paint splatter.
Walls & Baseboards Only: Furniture is moved to the center of the room and exposed flooring is covered.
Ceilings Included: Furniture, beds, and remaining items are fully covered with plastic, and all floors are protected.
Painting Process
Once prep is complete, we focus on delivering a flawless finish.
Repaired areas are primed
The first coat of paint is applied
After drying, walls are inspected for smoothness and consistency
A second coat is applied for full coverage and durability
If ceilings, walls, trim, and baseboards are included, we always work top to bottom:
Ceilings (fixtures covered and protected)
Walls
Trim, baseboards, and doors last — for crisp, clean lines
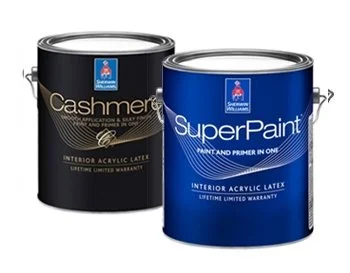
Paint Brands We Use
We primarily use Sherwin-Williams and PPG, both known for their quality, durability, and excellent performance.
PPG: Often a more budget-friendly option while still delivering great results
Sherwin-Williams: Premium quality with wide availability
Benjamin Moore: Higher-end option many homeowners love for performance and finish
We offer good, better, and best options from each brand. During your estimate, we’ll discuss:
Budget preferences
Kids, pets, and high-traffic areas
Desired durability and finish
We do not use low-grade paint.
Timeline & Estimate
To provide an accurate timeline, we’ll need a bit of information:
Entire rooms or walls only
Walls and trim, or walls only
Any closets included
Total number of rooms
Room dimensions (if available)
We’re also happy to schedule an on-site visit. Seeing the space in person allows us to enter precise details into our estimating software and send you a clear, detailed estimate shortly after.
Get a Free Estimate Today.
Wall Preparation
Proper prep ensures a smooth, long-lasting finish.
Walls are wiped down to remove dust and residue
Outlet and switch plates are removed
Dents, dings, and nail holes are filled
Once repairs dry, walls are lightly sanded for smoothness and proper paint adhesion
Walls and baseboards are wiped and cleaned again to remove dust
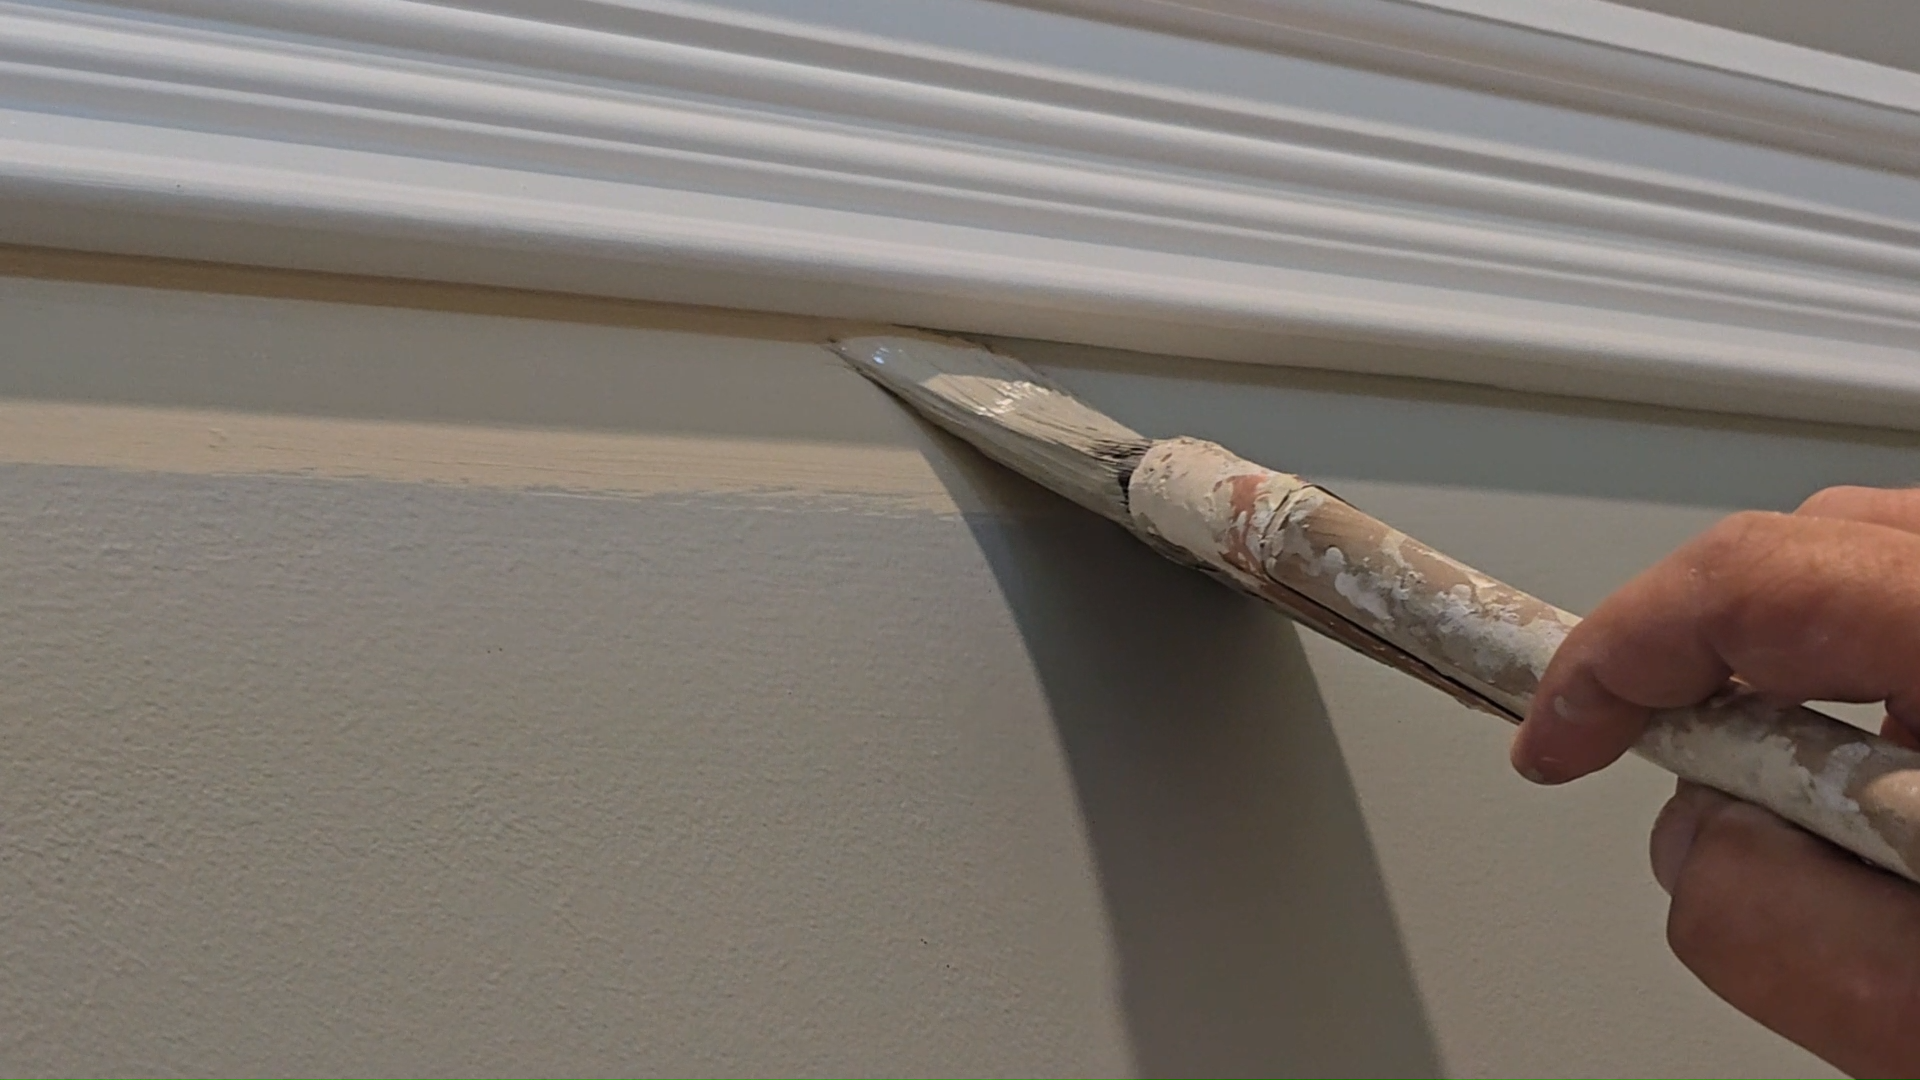
If baseboards require caulking, it’s done after cleaning to ensure clean, neat caulk lines
Daily Cleanup
We clean up at the end of each day and always ask where you’d prefer supplies and equipment to be stored.
If a utility sink is available, tools may be cleaned onsite
If not — or if you prefer — tools are cleaned offsite
Your home stays as neat and organized as possible throughout the project.
Pricing
Pricing is typically based per room. With nearly 20 years of experience, we’re highly accurate when estimating both cost and time, so there are no surprises.